Behind the Scenes: What an HVAC Contractor Really Does on Installation Day
Have you ever wondered what actually happens when your HVAC contractor shows up for installation day? The process involves much more than just dropping off new equipment and plugging it in. From careful preparation to precise setup and thorough testing, professional HVAC installation is a detailed process that requires training, experience, and attention to detail.
On installation day, your HVAC contractor will remove your old system, carefully install the new equipment, connect all components, test everything thoroughly, and provide you with operating instructions. This comprehensive process typically takes between 4-8 hours depending on the complexity of your system and whether you're replacing both heating and cooling units.
Understanding what happens during your HVAC installation helps you prepare properly and know what to expect. A quality installation ensures your system will run efficiently, last longer, and provide the comfort you need in every season. Let's look behind the curtain at what professional HVAC contractors actually do when installing your new system.
Preparing for Your HVAC Installation
Pre-Installation Assessment and Planning
Before installation day even arrives, your HVAC contractor will have already visited your home to assess your needs. During this initial visit, they measure your space, evaluate your existing ductwork, and determine the right system size for your home. This crucial planning step prevents common problems like installing units that are too large or too small for your space.
The contractor will also have helped you select the right equipment based on your home's layout, your comfort preferences, and your budget. Many homeowners don't realize that proper sizing is one of the most important factors in system performance and efficiency.
Getting Your Home Ready
On installation day, you'll need to clear paths to your indoor and outdoor units. The contractor needs easy access to work areas including attics, basements, or utility closets where equipment is located. You should also secure pets in a safe area away from the work zones.
Most installations require turning off power to parts of your home, so be prepared for temporary utility disruptions. Good contractors will let you know exactly what to expect regarding access needs and utility interruptions.
Materials and Equipment Preparation
Before arriving, your contractor gathers all necessary materials and equipment. This includes not just your new HVAC units, but also:
- Connection fittings and pipes
- Refrigerant
- Electrical supplies
- Mounting hardware
- Testing equipment
- Safety gear
Professional contractors bring everything needed to complete the installation in one visit, minimizing disruption to your household.
The Step-by-Step HVAC Installation Process
Removing the Old System
The first major step is removing your existing equipment. The contractor will:
- Safely disconnect power to the old system
- Recover any remaining refrigerant (following environmental regulations)
- Disconnect and remove the indoor air handler or furnace
- Remove the outdoor condensing unit
- Evaluate existing connections and ductwork for reuse
This removal process typically takes 1-2 hours and prepares the space for your new equipment.
Installing the New Unit
With the old system removed, installation of your new equipment begins. The contractor will:
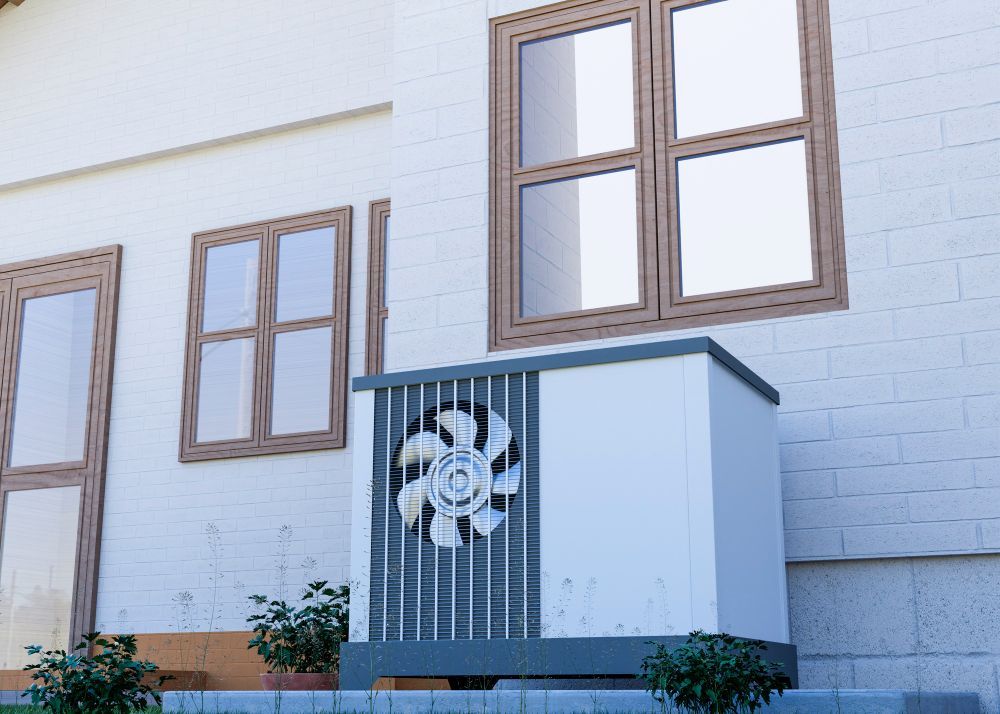
- Position and secure the new outdoor unit on a proper pad or mounting surface
- Install the new indoor unit (furnace, air handler, or both)
- Make sure all equipment is level and properly secured
- Install any new supporting components like drain pans or condensate pumps
Proper positioning is critical for system operation and longevity. Professional contractors take the time to ensure everything is perfectly level and securely mounted.
Connecting Electrical Components
Once the main units are in place, the contractor connects all electrical components:
- Running proper gauge wiring between indoor and outdoor units
- Connecting to your home's electrical panel
- Installing safety disconnects
- Ensuring all connections meet electrical codes
This phase requires specialized knowledge of electrical systems and safety protocols. Professional contractors understand local codes and safety requirements.
Setting Up the Thermostat and Controls
Your new system needs proper controls to function efficiently. Your contractor will:
- Install or connect your programmable thermostat
- Set up zoning controls if applicable
- Configure any smart home integration features
- Test control signals between the thermostat and equipment
Modern thermostats offer many energy-saving and comfort features that your contractor will help you understand.
Testing and Quality Assurance
System Testing Procedures
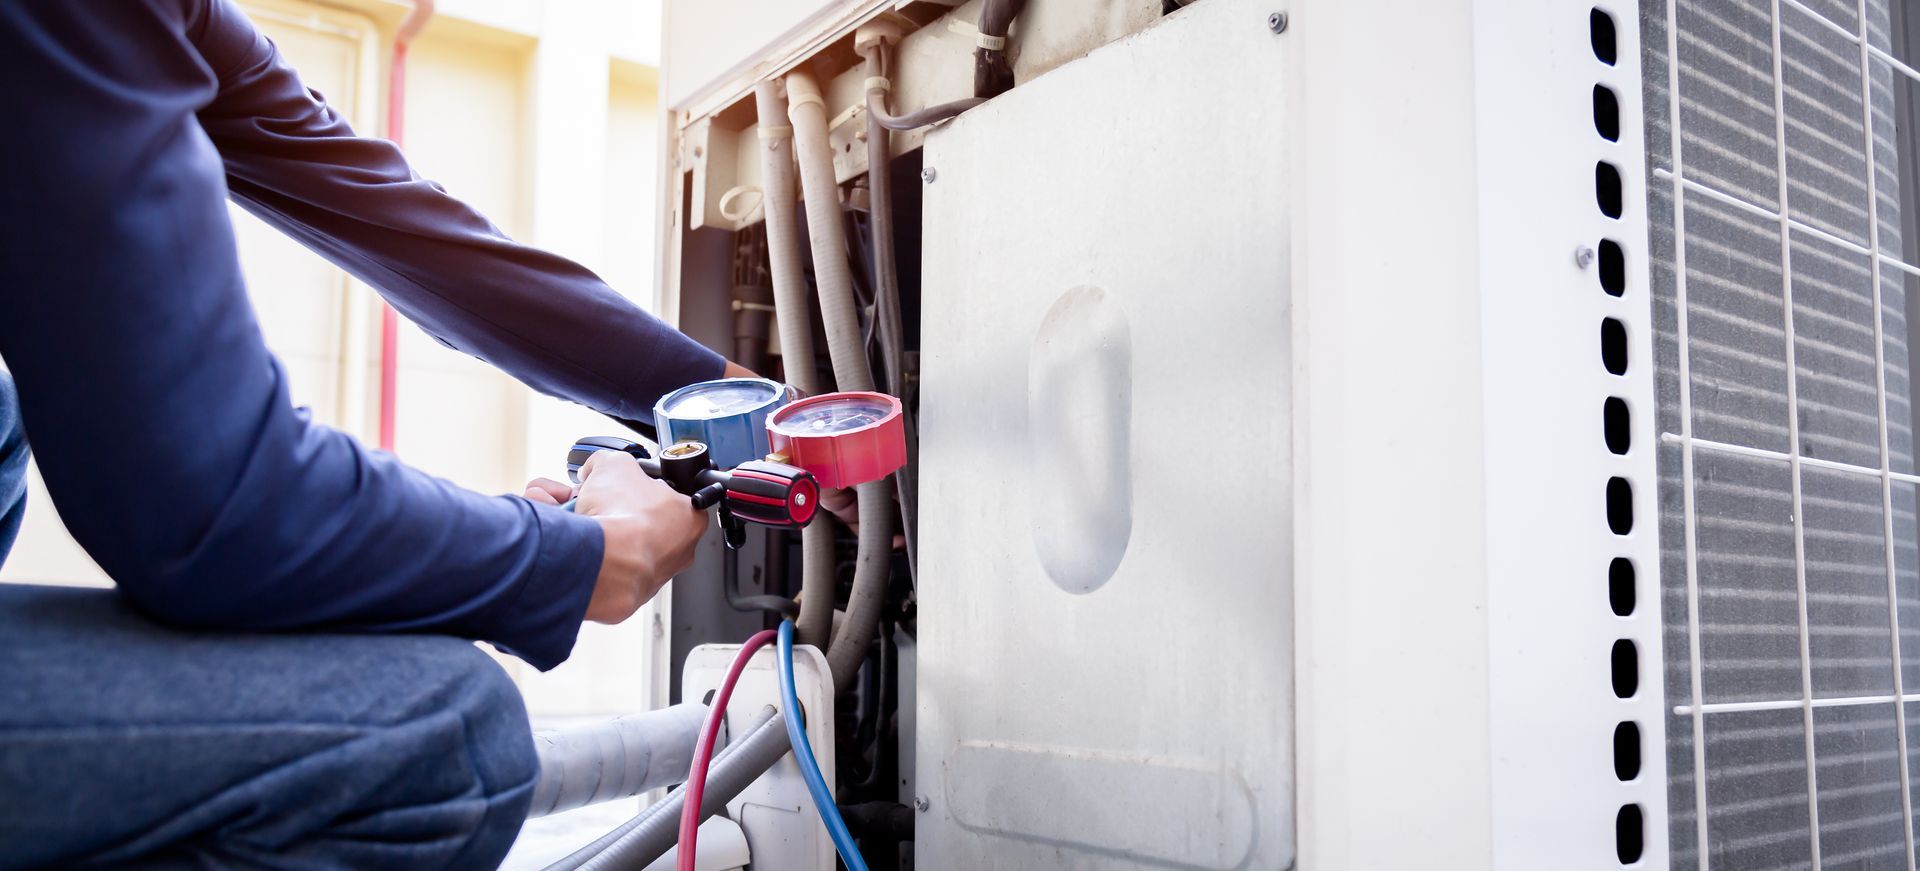
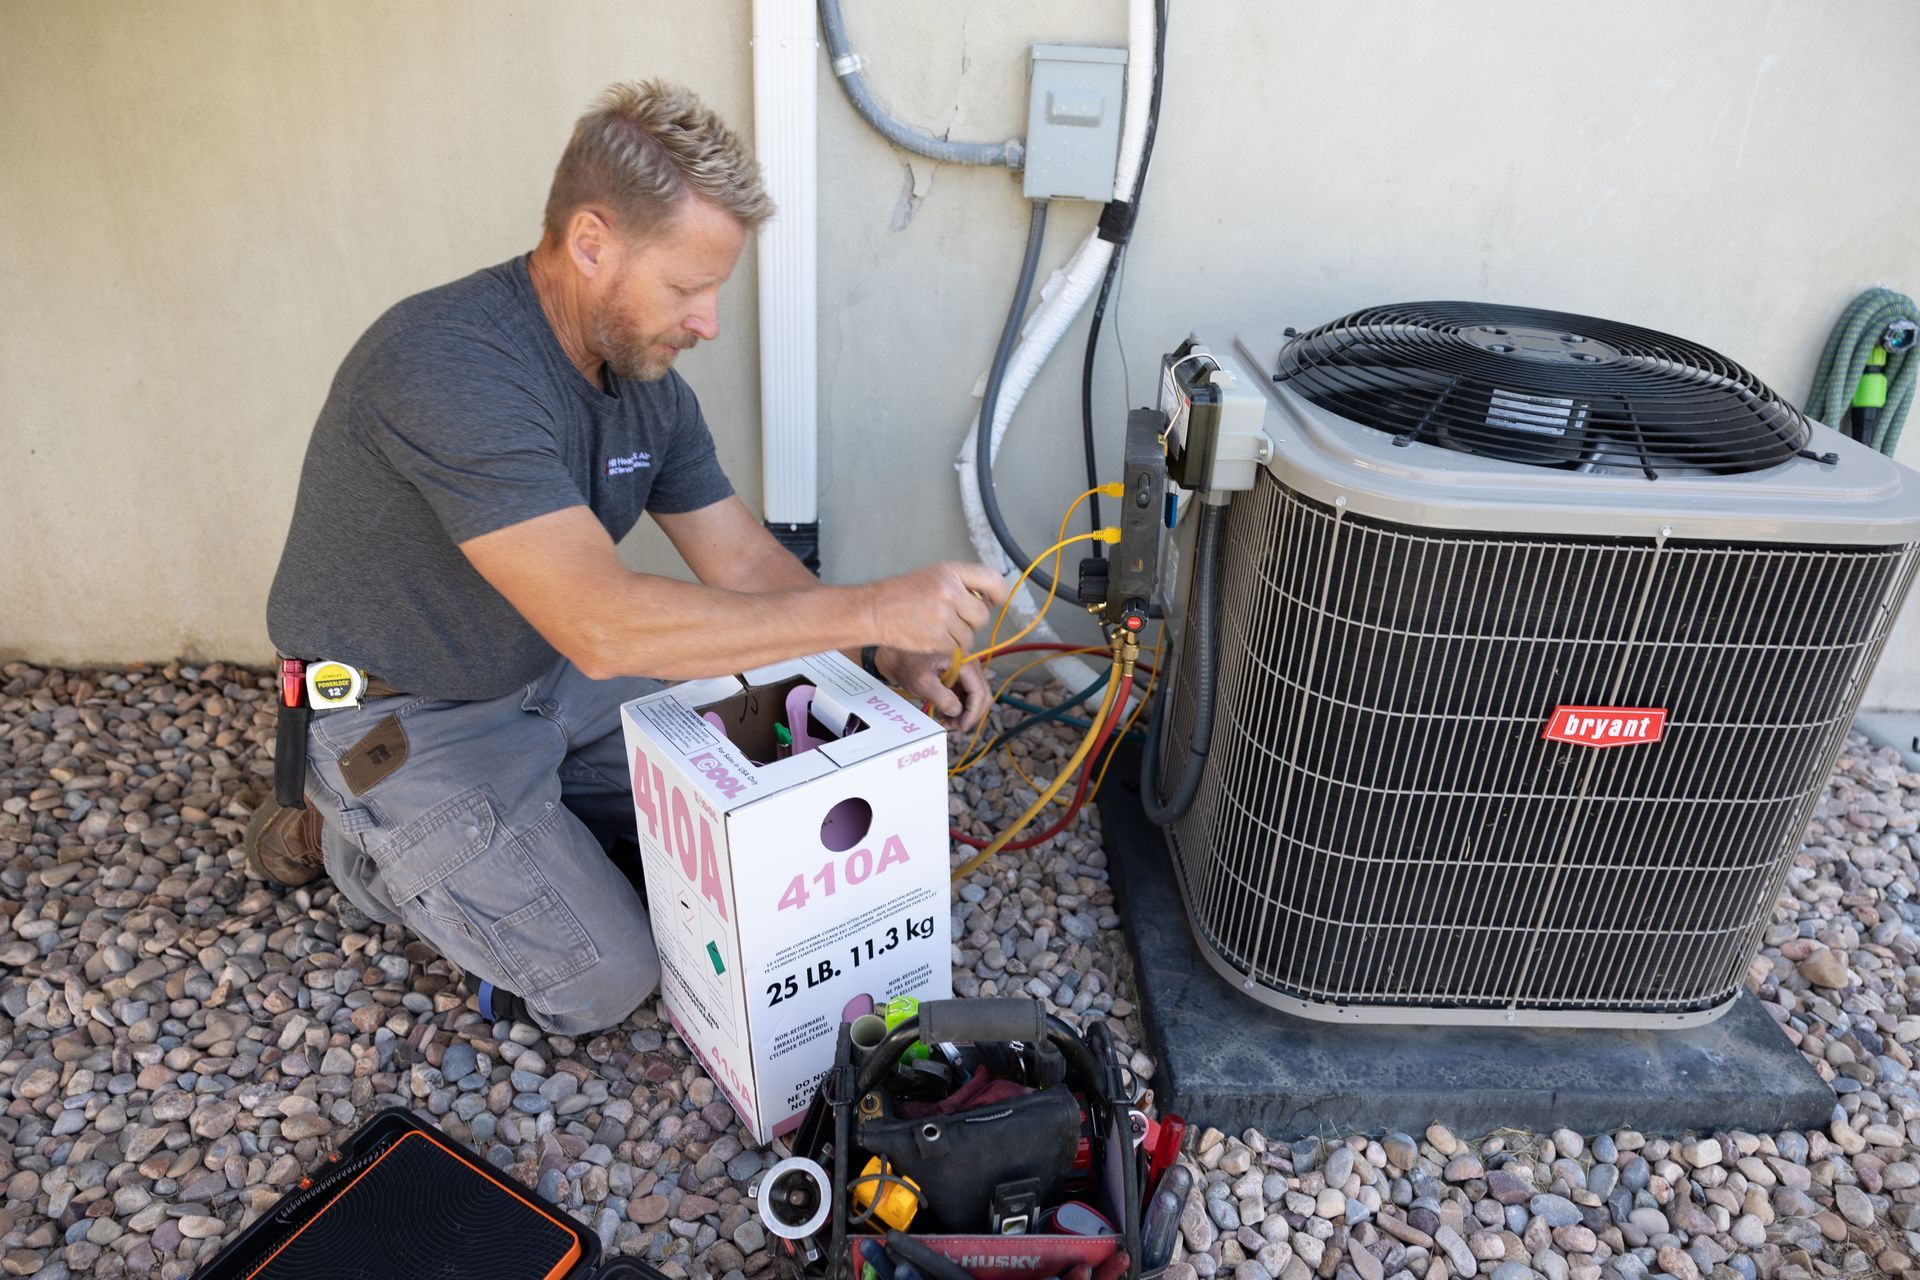
After installation, thorough testing begins. Your contractor will:
- Check refrigerant pressure and levels
- Verify proper airflow throughout the system
- Test temperature differentials across the system
- Check amperage and voltage readings
- Monitor startup and shutdown sequences
Each of these tests ensures your system is operating exactly as designed.
Efficiency and Safety Checks
Safety testing is a critical part of professional installation. The contractor will:
- Test for gas leaks (for gas furnaces)
- Check for refrigerant leaks
- Verify carbon monoxide detectors are working
- Ensure proper combustion and venting
- Confirm appropriate safety switches are functioning
These safety checks protect your family and property from potential hazards.
Explaining the New System to Homeowners
A good installation isn't complete without proper education. Your contractor should:
- Demonstrate how to operate your new thermostat
- Explain maintenance requirements
- Show you where filter replacements go
- Provide warranty information
- Answer all your questions about the new system
This knowledge transfer helps you get the most from your investment.
After Installation: What to Expect
Initial System Performance
Your new system may take some time to reach peak performance. During the first few days:
- The system might run longer cycles as it conditions your home
- You might notice different sounds than your old system made
- Your home's
temperature balance may adjust as the new system operates
Most contractors will follow up after installation to make sure everything is working as expected.
Post-Installation Adjustments
Sometimes minor adjustments are needed after initial installation:
- Fine-tuning airflow to specific rooms
- Adjusting dampers for better balance
- Making thermostat programming changes
Good contractors include these follow-up adjustments as part of their service.
Warranty Information and Documentation
Before leaving, your contractor should provide:
- Manufacturer warranty documentation
- Proof of installation for warranty validation
- Owner's manuals for all equipment
- A completed installation checklist
- Their contact information for future service needs
Keep these documents in a safe place for future reference.
Why Professional Installation Matters
Common DIY Mistakes to Avoid
While DIY projects can save money, HVAC installation isn't a good candidate because:
- Improper sizing leads to efficiency problems and premature wear
- Incorrect refrigerant charging causes system damage
- Electrical mistakes can create fire hazards
- Warranty coverage typically requires professional installation
The cost savings of DIY installation can quickly disappear when problems develop.
Benefits of Hiring Certified HVAC Contractors
Professional contractors bring valuable expertise:
- Proper system sizing calculations
- Knowledge of local building codes
- EPA certification for handling refrigerants
- Access to quality equipment and parts
- Insurance coverage for the work performed
This expertise translates to better performance and fewer problems.
Long-term Cost Savings of Proper Installation
Quality installation pays off over time through:
- Lower monthly energy bills
- Fewer repair calls
- Longer system lifespan
- More consistent indoor comfort
- Valid warranty protection
These benefits typically outweigh the higher initial cost of professional installation.
Choosing the Right HVAC Contractor for Your Installation
Key Qualifications to Look For
When selecting a contractor, verify:
- Proper licensing for your state/locality
- Insurance coverage
- NATE certification or similar professional credentials
- Manufacturer training for your specific equipment
- Good reviews and references
These qualifications help ensure quality installation work.
Questions to Ask Before Hiring
Before committing to a contractor, ask:
- Do you provide written estimates?
- What's included in your installation price?
- How do you size HVAC systems?
- What permits will be pulled for the work?
- What's your workmanship warranty?
Clear answers to these questions help you avoid surprises.
Conclusion and Next Steps
Installing a new HVAC system is a significant investment in your home's comfort and value. Understanding what happens during installation helps you prepare and ensures you're getting quality service. From removal of old equipment to the final system tests, each step requires professional knowledge and attention to detail.
When it's time for your new HVAC installation, trust Hill Heating and Air to handle the job right. Serving South Jordan, Salt Lake City, and surrounding areas from Provo to Ogden, our team brings expertise to every installation. Owner Steve Hill personally oversees our work, ensuring the highest quality standards for AC and heating installation services.
Ready to experience professional HVAC installation? Contact Hill Heating and Air today for a free consultation. Our team provides honest assessments, fair pricing, and expert installation that will keep your home comfortable for years to come. Don't leave your comfort to chance – choose the contractor that treats your home like their own.